photoshoots

Photoshoot Prep Checklist

There are a lot of moving parts to consider when you're coordinating a photoshoot. We put together a list of some things to keep track of.

The Week of the Shoot

  • Confirm with everyone involved.

  • Send call sheet to crew.

  • Prepare mood board and/or shot list, lighting plans, etc.

  • Review equipment list. Indicate:

    • equipment you are bringing

    • equipment provided by the studio

    • additional equipment needed

      • Make arrangements for rental equipment if necessary.

  • Scout location; know what to expect.

    • Check out food and parking nearby, etc.

The Day Before the Shoot

  • Review equipment list and pack gear.

  • Charge camera batteries.

  • Pack backup equipment.

    • battery

    • memory card

  • Check camera settings.

  • Format memory card.

  • Clean lenses.

  • Check directions.

  • Review details such as shot list, client requests, etc.


Creating Your Call Sheet

call sheet example

A call sheet is a document with all of the information that you and your crew will need do know before, during (and even after) a photoshoot — things like contact information, location details, your concept and timeline.

This master sheet is important to have when you’re working with a big crew or producing film, but it’s also really helpful for smaller photoshoots with just a few people involved. By making this part of your toolkit, you can keep yourself organized while impressing clients and making things easy for everyone you’re working with. It’s an easy extra step to take, especially if you have a template.

Some important details a call sheet might include:

  • important contact information

  • date, day of week, time

  • location details — Where are you meeting? Will there be any secondary locations? You might also include a Google Maps link, parking options, etc.

  • names of people involved — Let people know what to expect. List the names of your crew, talent, hair/makeup and anyone else who will be part of your project. (You don’t have to include everyone’s contact information — this could get confusing.)

  • timeline — What’s your arrival time? When will be you setting up, and when do you want to start shooting? Will there be any breaks? When’s wrap-up? You might also want to include here whether there will be coffee or breakfast provided when you get there, what you will be doing for lunch, etc. Indicate whether certain members of your team can arrive at different times.

  • concept — Include a briefing of your concept. You might also want to provide an attachment or link to a more detailed mood board.

  • wardrobe — Detail any outfits that models should bring themselves, and whether there’s anything to be avoided.

  • special instructions — A section with any other important details that people should know.


Defining Your Concept: Tips for Creating a Mood Board

The first step to preparing for a photoshoot is to define your concept. If you have a general vision, but you're not exactly sure how to articulate or execute it, a mood board will help.

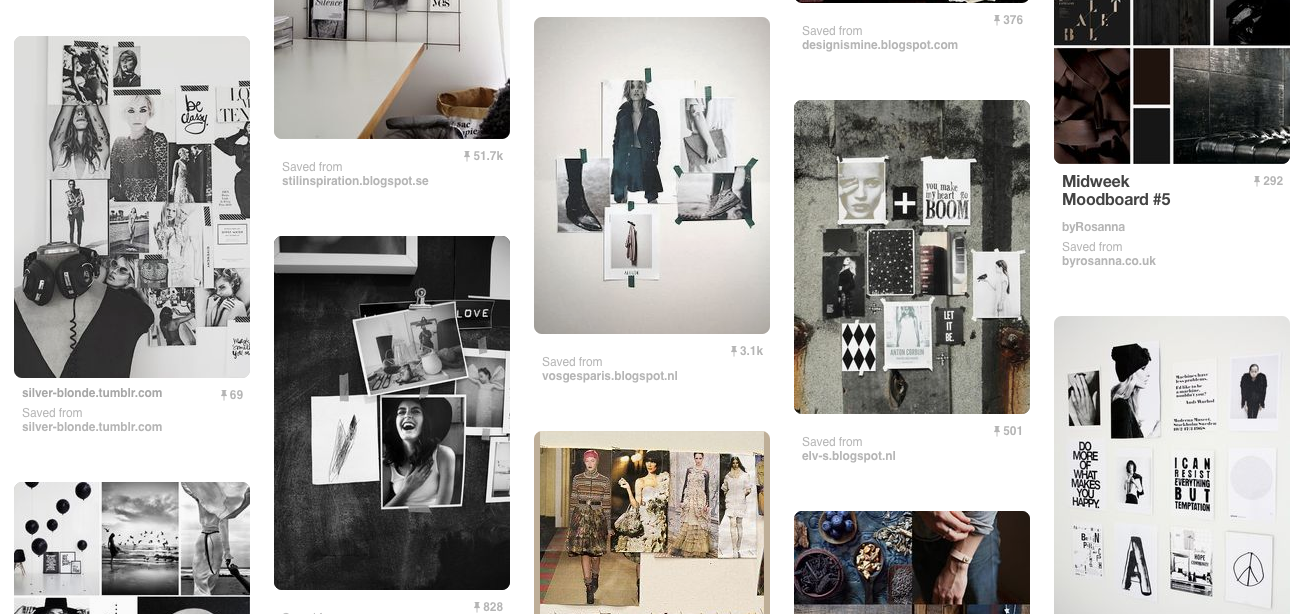
Simply put, a mood board is a collage of inspiration to be used as a reference point before and during your photoshoot. It will help you clarify your vision while getting the rest of your team on the same page.

Some tips for putting one together:

1. It’s helpful if you have lots to pull from when it comes time to decide on your concept, so you should always be collecting images and sources of inspiration. Collect tear sheets, save images to a folder on your desktop, make use of your screenshot tool, and take lots of pictures on your phone. Even if you’re not sure where or when you’ll use it, if you see something that inspires you, save it for later.

Programs like Evernote will let you store everything in one place — photos, notes, articles, lists — and then organize your files with folders and tags (check out this article on using Evernote for mood boards).

2. Have a visual reference point for every aspect of your shoot: hair, makeup, wardrobe, lighting, models, model poses, and props. If you’re working with a team, it can be helpful to dedicate a section of your mood board to each member of your team — your stylist, makeup artist, model, etc.

3. Start with a folder, Pinterest board, etc. with all of your sources of inspiration, and then edit it down to a cohesive final mood board. Don’t overwhelm yourself (or your team) with too many images. You can simply arrange your photos on a page in Photoshop, or use an online tool such as Moodboard, Mural.ly, Niice, or Pixelboard.

mood board examples

Preparing for Your Studio Rental

Booking your first photoshoot at a studio can be intimidating, but there’s no need to worry. Not only can your first studio shoot be a lot of fun — it’s also a great way to gain experience working with models, lighting, and professional photography equipment. Before you go out and purchase expensive lighting equipment of your own, you can try it out for a fraction of the price by renting a studio. Many include equipment with their bookings, or they offer it to rent for an additional cost. (Click here to see what equipment we have at Fairway.)

The more prepared you are, the more smoothly the day will go. See below for some tips on preparing before the day of your shoot so that you get the most out of your studio rental.

Find your subject

  • A professional model can help, but it's not necessary. If you're new and just hoping to get comfortable in the studio and acquainted with the equipment, you may even want to consider using a friend as your model so that you're more relaxed. Make sure that they can take direction and convey emotion.
  • Communicate with your model before the day of the shoot. Get them involved with the process, and ask if they have any requests. Be sure to let them know what to expect and about any plans, goals, or ideas you have. Tell them what the process will be like.

Have a plan

  • Think about how you'll use lighting, and have a few different setups planned out. (There are plenty of online resources and tutorials with setups.) This way, on the day of the shoot, you'll spend less time making decisions and more time getting the shots you need.
  • If you have multiple outfits, looks, or models to shoot, have a game plan — decide on the order beforehand.
  • Write your plans down, as well as any tips or important information you'd like to remember. Even if you don't refer to this sheet, it'll provide an added level of comfort.

Do your research

  • Find out what equipment is provided by the studio. If there's anything you're unfamiliar with, or anything you're not sure how to use, do your research. Of course you won't need all the equipment, but it's helpful to know what your photos might benefit from.
  • If there's any equipment you'd like to rent, check in the studio before the day of your rental. Confirm in advance that the equipment you'll need will be available.

Other considerations

  • Think about anything that might come up. Will you need parking, or a service elevator?
  • When booking, factor in time for setup and for anything that might slow down your shoot.
  • Get familiar with the studio's terms. Find out their cancellation and rescheduling policies. (You can find ours here.)